If you read our previous blog post about Fabric Direct Lake, you know that we promised to show you some examples of how Tabular Editor 3 can help you work with Direct Lake datasets. In this post, we will demonstrate how you can use Tabular Editor 3 to create a new Direct Lake dataset from scratch and configure it in a few simple steps.
Recapping Fabric Direct Lake
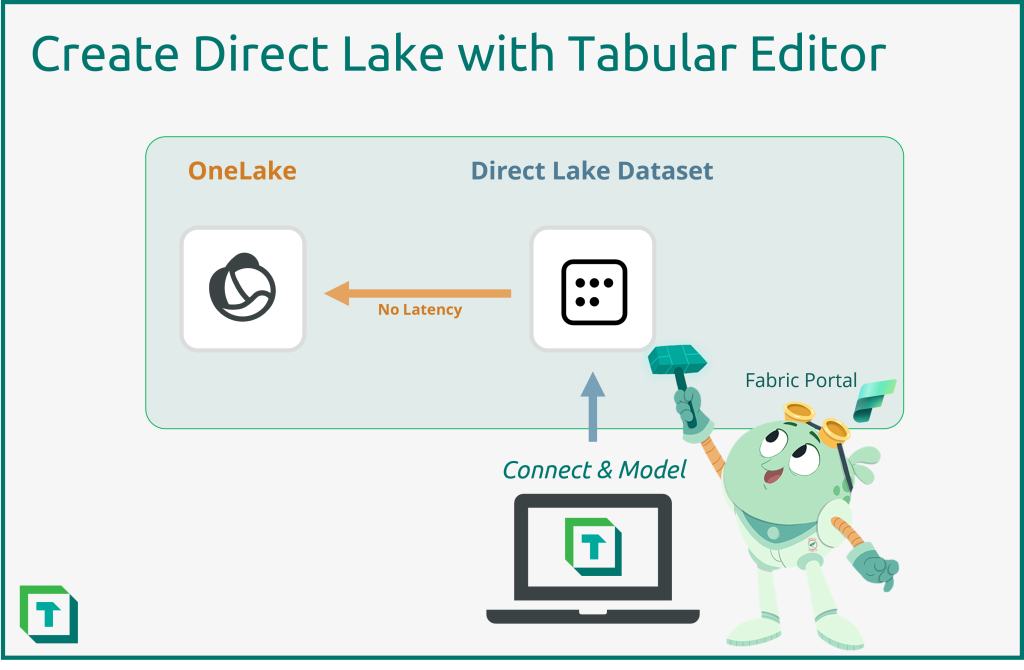
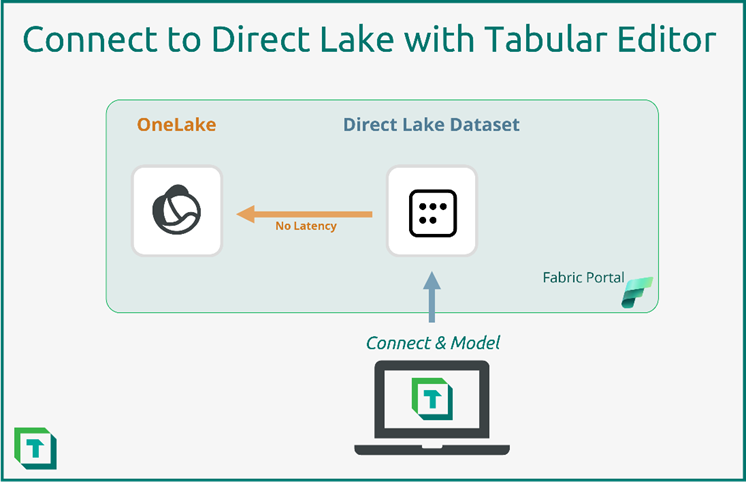
Direct Lake datasets are a special type of tabular datasets that are directly linked to the Fabric Lakehouse. This means that whenever the data in the Fabric Lakehouse changes, the Direct Lake dataset reflects those changes automatically, without any additional processing or refresh.
This means that the consumers of reports based on a Direct Lake dataset can see the latest data as soon as the Lakehouse changes. Thus, also eliminating the final step in a potential lengthy ETL process.
Creating a Direct Lake dataset with Tabular Editor
Tabular Editor supports creating Direct Lake datasets as of version 3.11.0, and thereby allows you to create and edit your datasets locally, store them in source control, and deploy them to your Fabric workspace with your DevOps tooling of choice.
Prerequisites
To follow along with this tutorial, you will need:
- A Fabric workspace with a Lakehouse or Warehouse
- Access rights on the workspace to deploy datasets.
- XMLA Read/Write enabled on your Fabric trial or tenant.
- Tabular Editor 3.11.0 or higher installed on your machine.
Step 1: Finding connection strings
The first step in creating a Direct Lake dataset is to find and copy the Lakehouse SQL endpoint connection string in the Fabric portal workspace, as well as your workspace XMLA Connection String and put them aside for use later in the tutorial.

- Hover over the Lakehouse SQL endpoint and click on the three dots.
- Choose ‘Copy SQL Connection string’.
- Copy the connection string and save for later.
- Open Workspace settings and click on the Premium tab.
- Scroll to the bottom of the page and copy the workspace connection (XMLA endpoint) and save for later.
Video: Creating a Direct Lake dataset in Tabular Editor
The following steps 2-5 can also be seen in this video demonstrating the creation of a Direct Lake dataset in Tabular Editor 3
Step 2: Creating the Direct Lake dataset
After having collected connection string we can move on to creating the Direct Lake dataset using Tabular Editor 3.
Creating a new dataset is as easy as going to File > New > Model or using the shortcut Crtl+N. This will bring up the ‘New Model’ dialog to name the dataset and when having ensured that the dataset’s compatibility level is set to 1604 (Power BI Dataset)[1] the model can be created. You can create the dataset without a workspace database if you wish, but then you will not be able to preview data until your dataset has been deployed to the Fabric workspace.

[1] The minimum required level for Direct Lake datasets.
Step 3: Creating tables in the Direct Lake dataset.
An empty model is a fine thing and is pure potential, but it does not help business users much in gaining insights into the data. Naturally the next step is to create some tables so that we can start building out the data model.
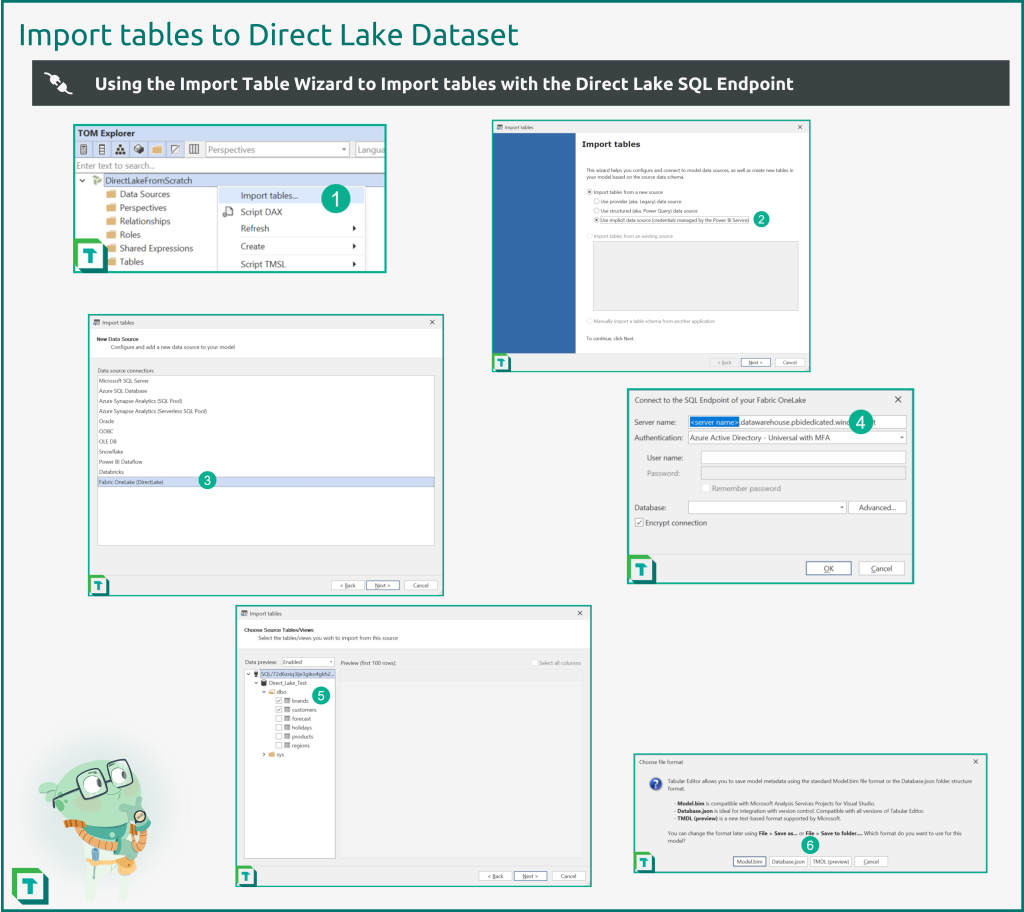
- Right click on the data model in the TOM Explorer and choose ‘Import tables…’ which will bring up the Import Table Wizard.
- Choose ‘Use implicit data source’ to set up a Power BI dataset.
- Choose ‘Fabric OneLake (DirectLake)’ as the new data source.
- Input the Lakehouse SQL Endpoint connection string into server name and authenticate.
- Select the tables to add to the dataset.
- Save the dataset to the Power BI service and a local folder in your format of choice.
Step 4: Preview the data
Assuming you set up the new dataset with a workspace database in Step 2 above, you can immediately test the Direct Lake connection, by using Tabular Editor 3’s “Preview data” feature. If not, you will not be able to preview data at this stage, but will need to deploy the model to a Fabric workspace first.
When previewing data, keep in mind the only thing we did so far, was importing a few tables and saving the dataset back to the Fabric workspace. No refresh has been run to import the data into the dataset, as would be required by a regular Import dataset. Also, as can be seen by collecting VertiPaq Analyzer statistics, data is actually loaded into memory as required, unlike a DirectQuery dataset, where data remains in the source.

Step 5: Adding tables with Tabular Editor
The process for adding more tables to a Direct Lake dataset is straightforward as the Import Table Wizard connects to the existing Lakehouse data source and all there is left is to select the desired tables.
Similarly, when a table changes schema in the Lakehouse, you can use Tabular Editor’s “Update table schema” feature as usual.

In conclusion
This was just the first few steps in creating a Direct Lake dataset. The real fun of data modeling in Tabular Editor is still ahead; creating measures, organizing the dataset, creating calculation groups, applying best practices rules are all still ahead.
Bonus: Creating a Lakehouse Import or DQ-mode dataset
It is also possible to use one of the regular Azure DB or Azure Synaps connectors to connect to the Lakehouse SQL Endpoint. It is just a SQL Endpoint and seems to work no different. This will allow for developers to still built import- or DirectQuery-mode datasets on a Fabric Lakehouse (and presumably Fabric Warehouse)
One reason to choose an import dataset over Direct Lake is to have all the functionality of an import dataset while still being connected to the Lakehouse stored in the Fabric portal. Features that are used by many dataset developers today such as calculate columns and tables, DateTime relationships, composite models etc.
However, there is currently no known migration path from an Import dataset to a Direct Lake dataset so the benefits of each should be considered carefully when deciding which to implement.
For DirectQuery-mode datasets, it seems that there are not a lot of advantages over Direct Lake mode, if we ignore the current limitations. In fact, Direct Lake mode datasets will automatically fallback to DirectQuery in some circumstances. Once the Direct Lake limitations are remedied (hopefully before Fabric goes GA), Direct Lake should be the preferred option over DirectQuery in all cases where the source data resides in a Fabric Lakehouse.